 FREE Delivery. Order today, Get it by Friday 06th June
Description
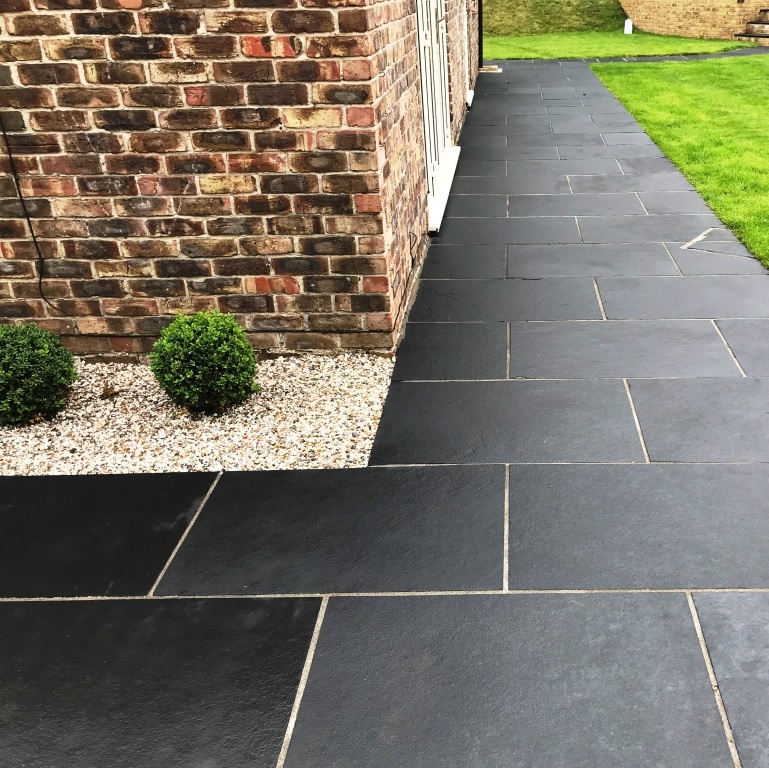
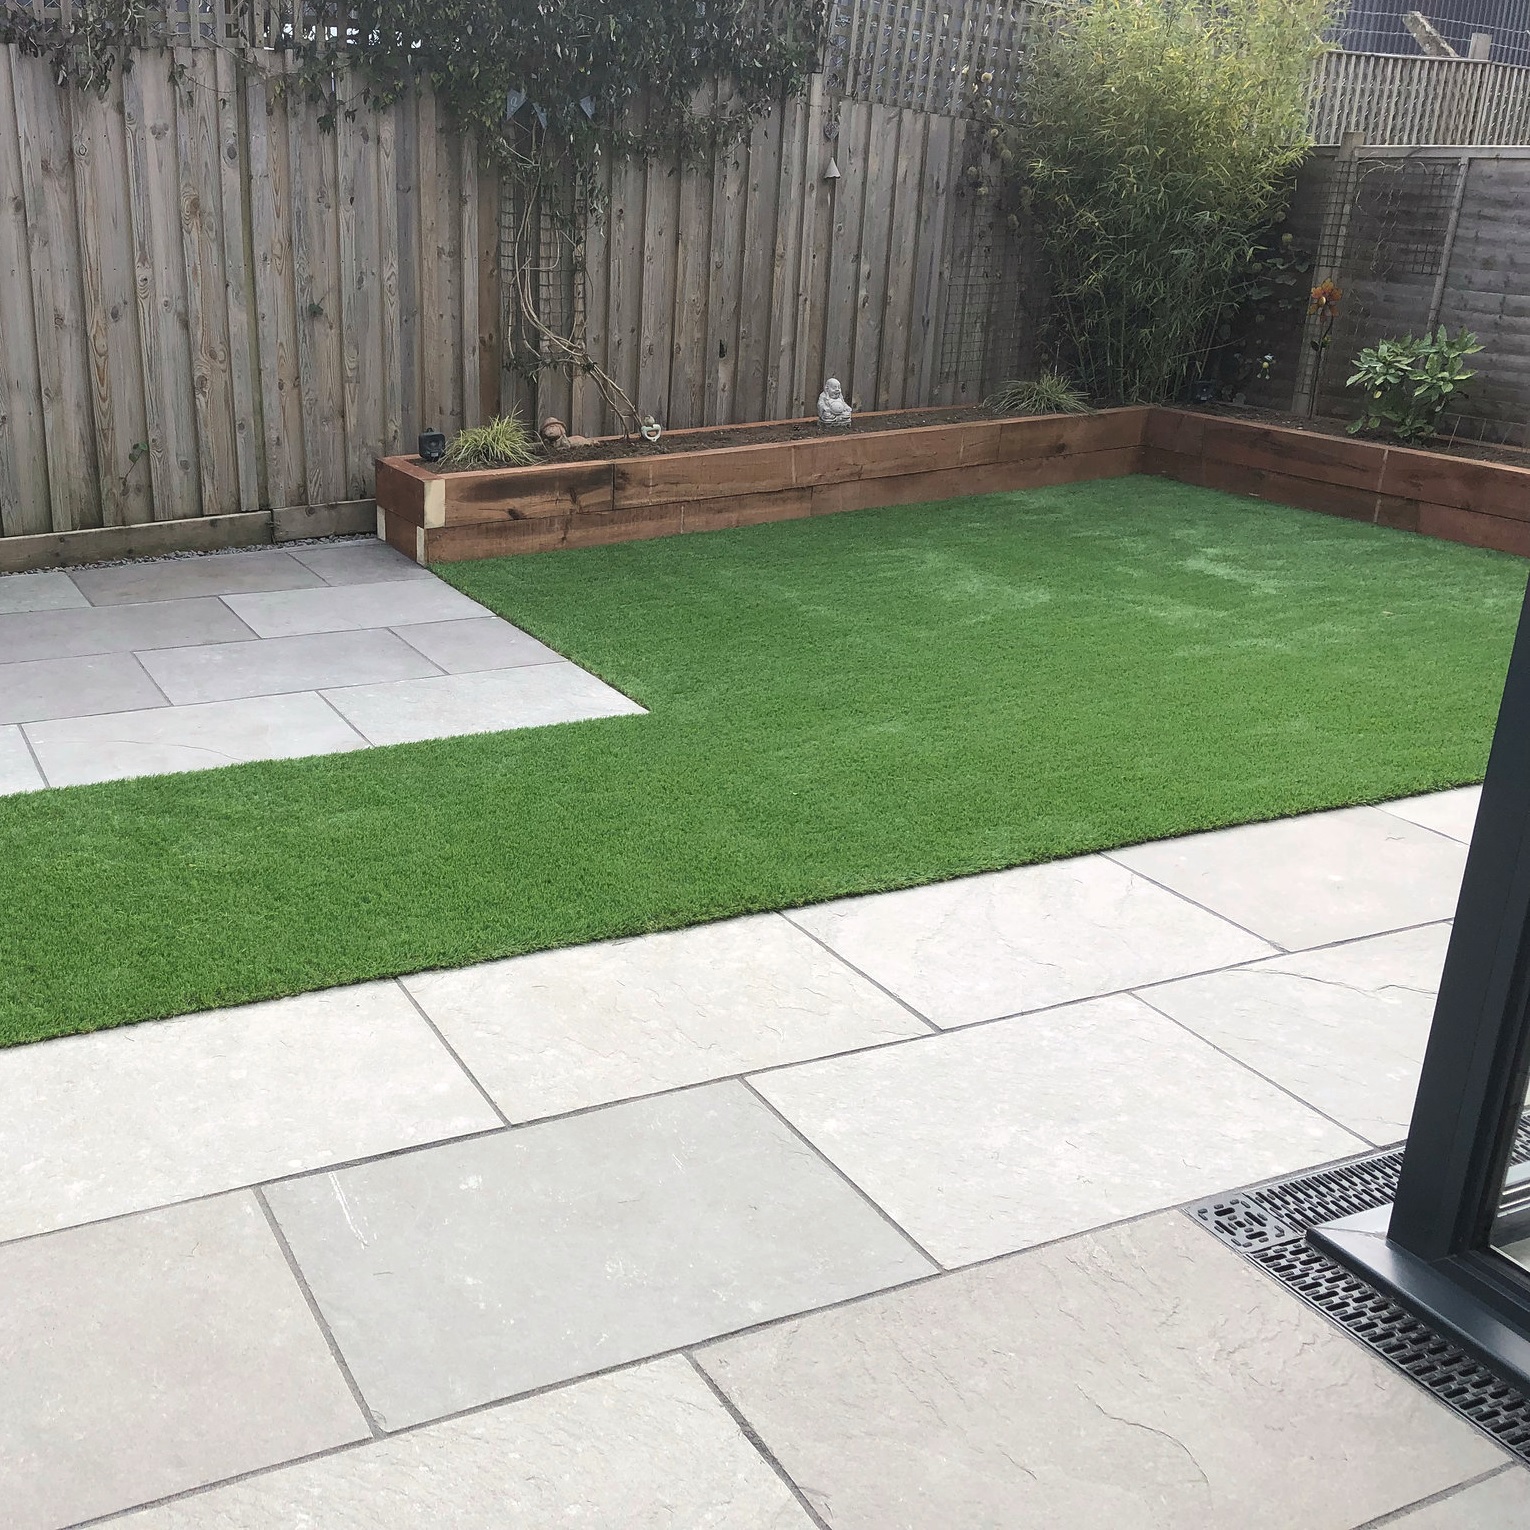
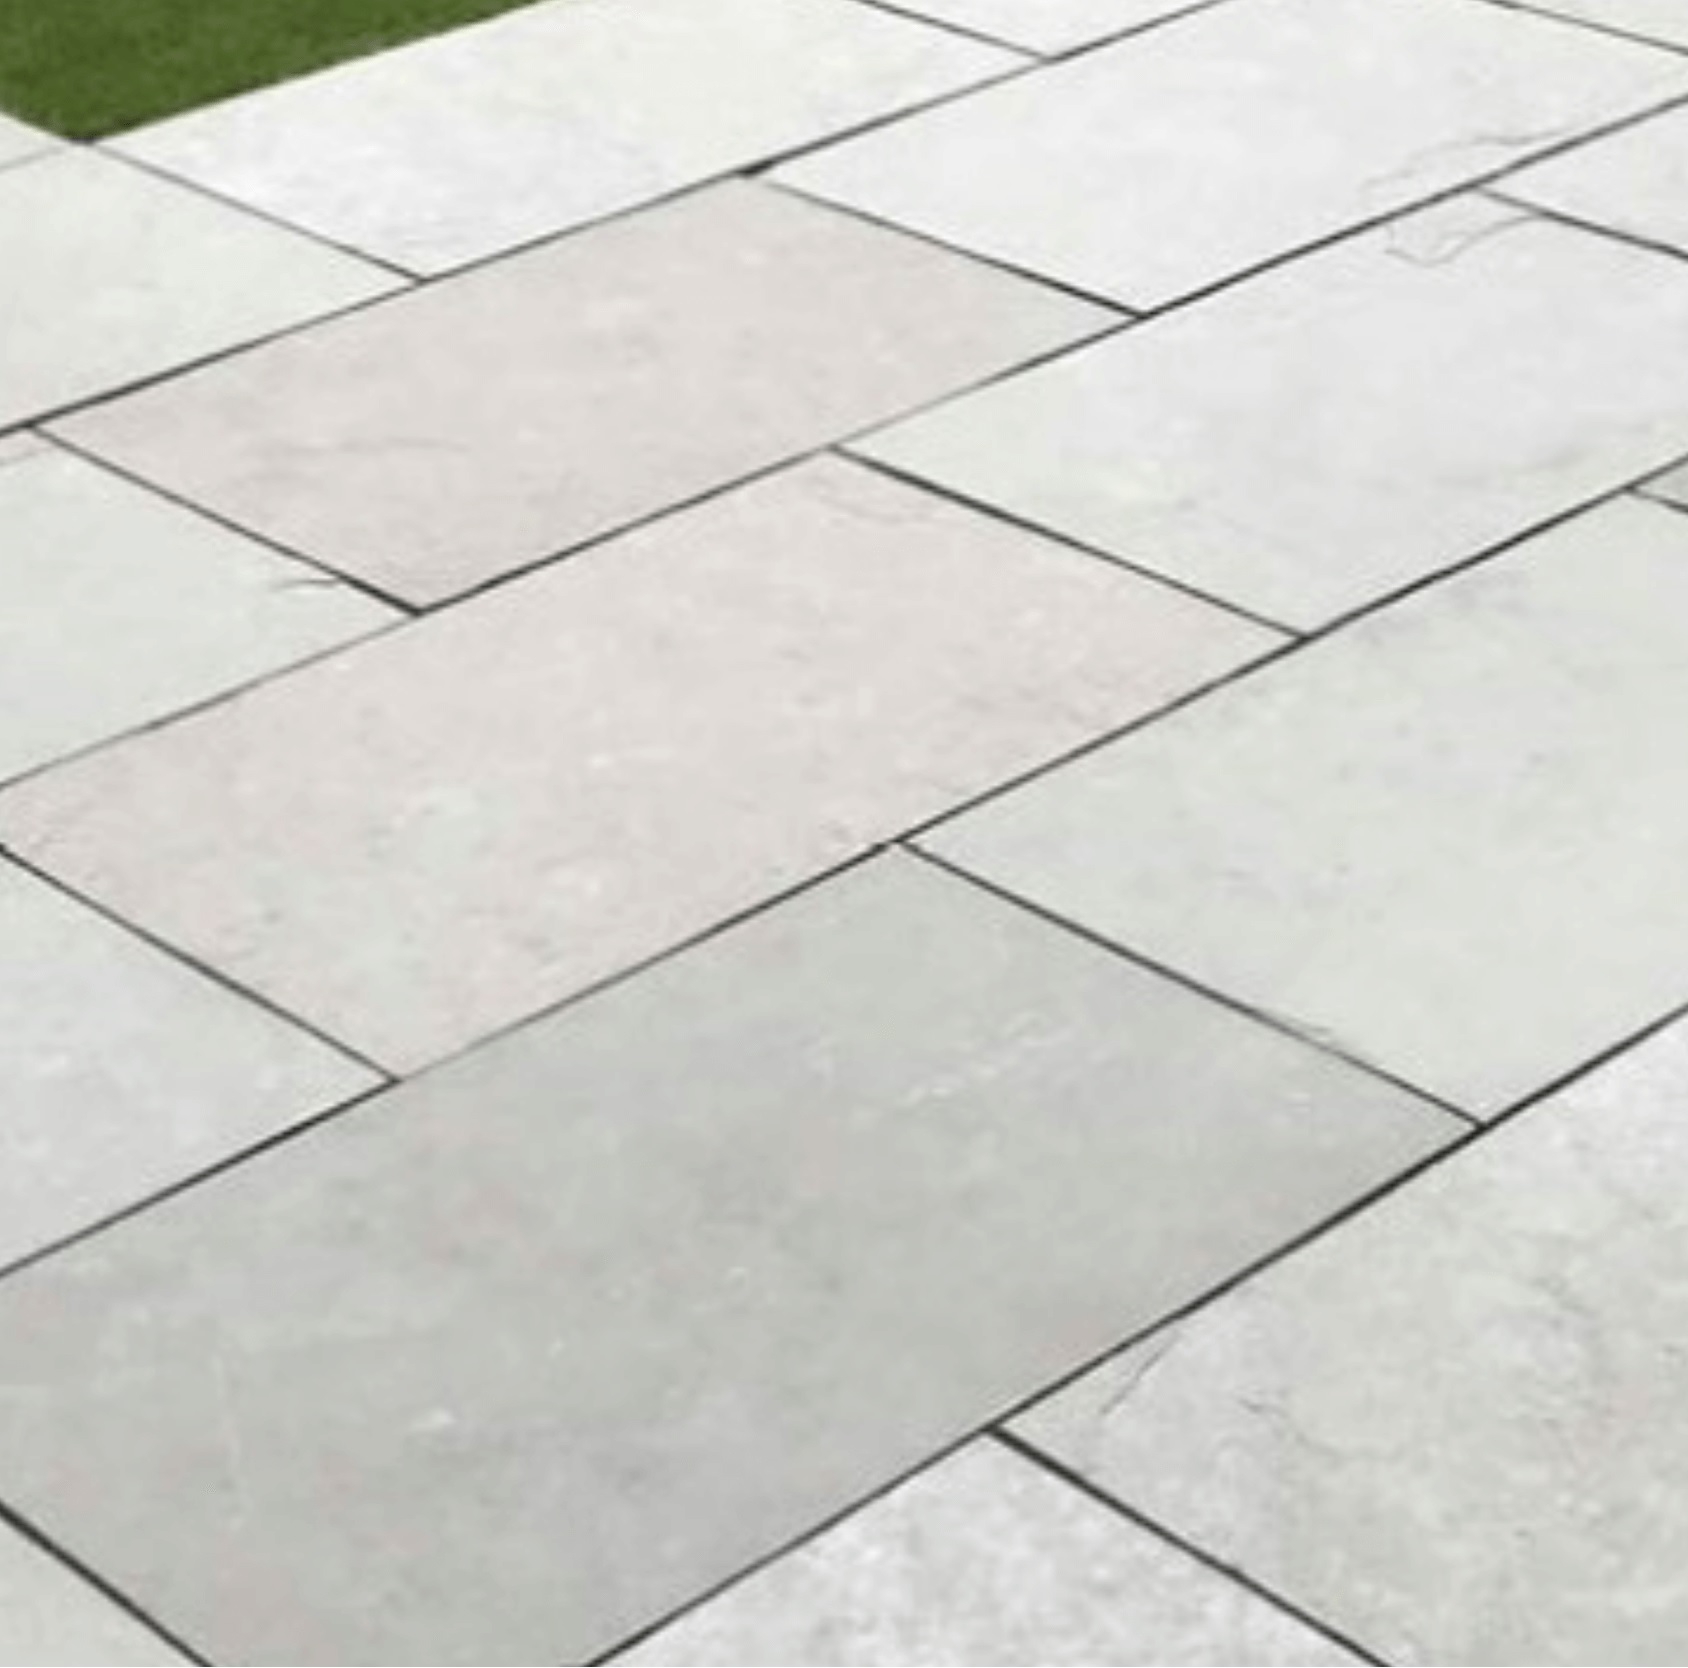
Grey Natural Limestone 900×600 Paving Slabs
Grey Natural Limestone Size Options
900x600mm | 4 Size Mix Patio Pack
Specifications
Colour: Grey
Type: Limestone
Thickness: 22mm
Pack Coverage: 17m² Coverage when laid with a 10mm joint.
Slab Quantity & Size(s): 30x 900x600mm
Introducing Grey Limestone Paving
A true celebration of natural elegance with a modern, contemporary twist. Expertly crafted from authentic limestone, this paving solution highlights a stunning array of soft, sophisticated grey tones, which effortlessly blend with any design aesthetic. The varied shades of grey enhance the beauty of outdoor spaces, bringing depth, warmth, and subtle texture to the surface.
Whether used for creating pathways, patios, or garden features, this versatile paving adds a refined, timeless quality to any setting. Its durable, natural composition ensures lasting beauty, while its modern design complements both traditional and contemporary environments.
KEY FEATURES
Timeless Grey Tones:
Grey Limestone Paving is a testament to the understated beauty found in natural stone. Revel in the soothing palette of grey tones that effortlessly adapts to various design styles, from classic to modern, creating a timeless foundation for your outdoor sanctuary.
Natural Limestone Charm:
Mined from the earth, each slab of Paving tells a story of natural formation. The inherent charm of limestone lends a unique character to your outdoor space, promising a one-of-a-kind visual appeal.
Natural Stone Resilience:
Crafted from natural stone, this Paving ensures durability and resilience in various weather conditions. Embrace the charm of a timeless material that weathers gracefully,
evolving with character over time.
Ordering Guide
We always recommend following the spillage guidelines of ordering an additional 10% of paving to account for any offcuts and breakages that may happen in transit or throughout the installation. In most cases the chipped or damaged tiles are not totally unusable as they can be used for cuts throughout the project.